The first fleece baby blanket I hooped came out of the machine with a soft ring pressed into the nap, as if someone had set a warm mug on it and walked away. The stitching was fine. The blanket looked tired. I had done what most tutorials say: centered the fabric, tightened the screw until the fleece felt firm, and left the hoop on while I trimmed jump stitches.
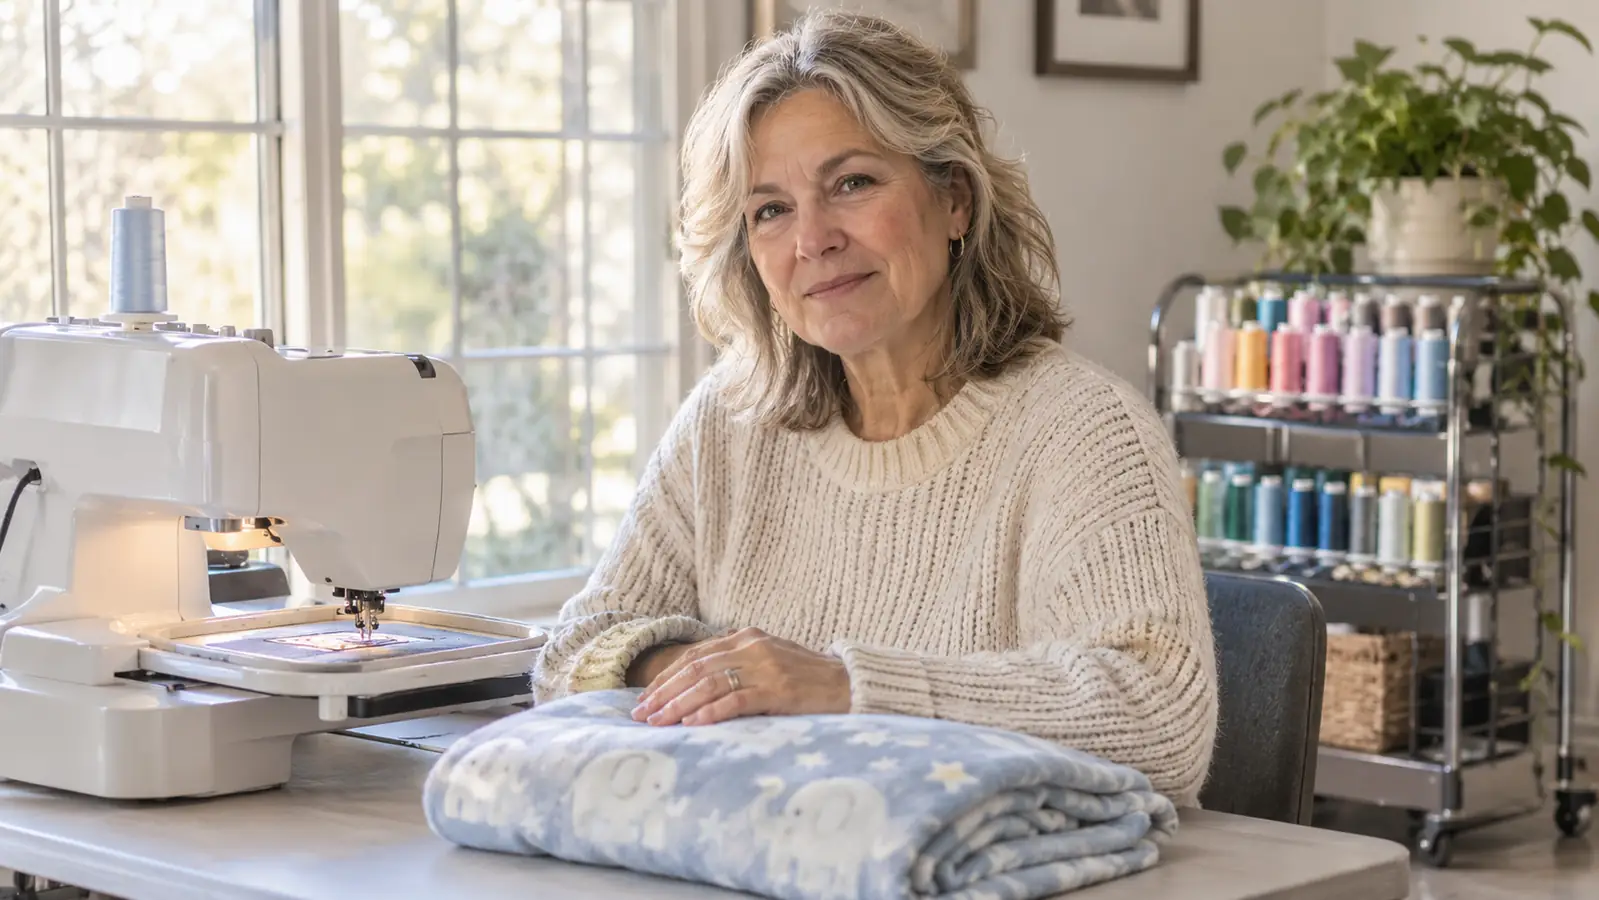
That was before the Sew Tech hoop set landed on my table in March 2024. I had been embroidering since the fall before, mostly towels and napkins, and baby blankets were the first thing that made me feel like a beginner again. Fleece has a memory. Pull it too hard and it keeps the shape of the hoop long after the hoop is gone. The fix is not a different machine or a heavier stabilizer. It is how you hoop the blanket and how quickly you let it go. I use the set on my Brother SE1900, which has a 5 by 7 inch field. The set gives me four hoops: 1 by 2.5, 4 by 4, 5 by 7 and 5 by 12 inches, each with clear grid markings, an adjustable metal screw and a hanging buckle. The 4 by 4 and the second 5 by 7 do almost all my work. The 5 by 12 stays on the buckle because my machine cannot use it.
The hoop size you need is probably already in the set
The Sew Tech set includes the 4 by 4 and 5 by 7 hoops that fit a Brother 5 by 7 field, with grids for centering and an adjustable metal screw for fleece.
Amazon See the Sew Tech hoop set on Amazon →Step 1: Match the hoop to the design, not to the blanket
A baby blanket is bigger than any hoop you own, and that is fine. The hoop only has to hold the area where the needle will work. For a name or a small monogram on a fleece blanket, I reach for the 5 by 7. For a single initial in a corner, the 4 by 4 is easier to place and easier to keep flat. The 1 by 2.5 is for tiny names on bibs, not blankets. The 5 by 12 never comes off the buckle because the SE1900 field stops at 5 by 7.
The temptation is to use the biggest hoop that fits the machine because it feels safer. In practice, a smaller hoop gives you less fabric to manage and less chance of stretching the fleece while you tighten. The Sew Tech grids help here. I put the hoop on the blanket, line the center marks up with the mark I made on the fleece, and check twice before the screw gets tight. On a blanket, a quarter inch off is visible when the name sits near an edge. The 5 by 7 is also the size I use when the design comes from the machine's built-in fonts, because those fonts are already sized for the field.
One more thing about size: the hoop should fit the design with a little room around it, not a lot. If the design is 3 inches wide and I put it in the 5 by 7, the extra space is not a problem. If I put it in the 4 by 4, the blanket is easier to turn and the fleece has less area under tension. That is why the 4 by 4 has become my corner-initial hoop. The Sew Tech set is the only set I have bought, and the sizes are the reason I have not needed another. The 5 by 12 is a good hoop for a machine with a 5 by 12 field. Mine is not that machine. Keeping it on the buckle is not a waste. It is a reminder that the set covers more machines than mine.
Step 2: Stabilize the fleece before the screw touches it
One sheet of HBI tear away goes under the blanket for a baby blanket. I keep the 10 by 12 inch precut sheets flat on the corner shelf and slide one under the hooping area. For fleece, that single sheet is enough. For a thick bath towel I double it, but a baby blanket does not need two. If the fleece has a noticeable pile, I add a clear water-soluble topper on top, the generic roll from the craft store, so the stitches do not sink into the nap.
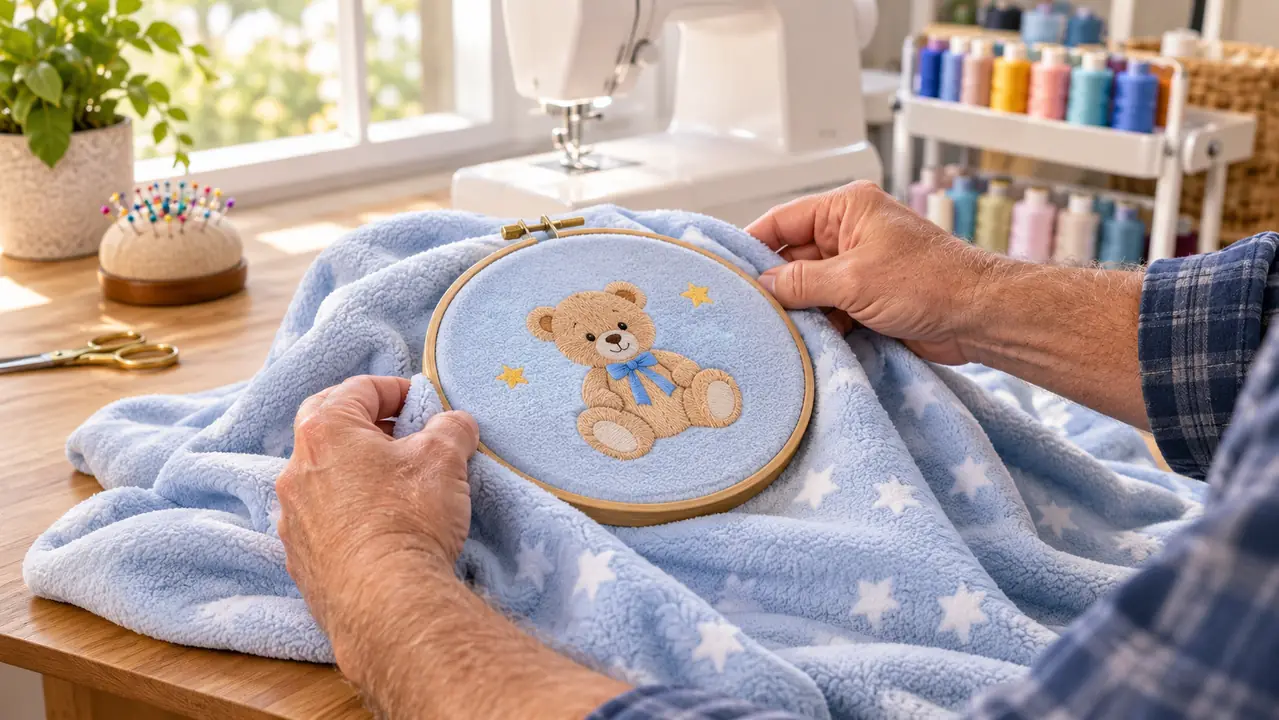
The order matters. Stabilizer first, blanket second, topper last if you use it. Do not hoop the blanket and then try to shove stabilizer underneath. That is how you get a lump and a tight spot at the same time. I lay the stabilizer on the table, center the blanket over it, and bring the hoop down over both. The Sew Tech hoop's screw is adjustable, and I keep it loose enough that the inner ring settles without dragging the fleece. If the blanket has a satin binding, I keep the binding outside the hoop and let the needle work only in the flat center.
For a blanket that is already folded or has a crease, press it flat before you hoop. A crease under the hoop becomes a crease under the stitches, and no amount of pressing later will fully remove it. I give the blanket a quick press with a cloth on the back, let it cool, and then hoop. This is a small step that saves a lot of second-guessing. It also gives me a clean look at the fleece before I commit to a placement, which matters more than a perfect grid line.
Step 3: Tighten like you are closing a jar, not sealing a drum
Hoop burn on fleece comes from two things: too much tension and too much time. The tension part is easy to fix. The fabric should be taut enough that a finger pressed in the middle does not drag the whole blanket, but not so tight that the fleece looks shiny around the edge. I tighten the metal screw with a small screwdriver until it is snug, then press the fabric with two fingers. If it springs back with a little give, it is right. If it feels like a drum, back it off.
The Sew Tech screw is the one annoyance I have with the set. It needs a small screwdriver to get firmly tight on thick towels, and on fleece I do not want it cranked down anyway. I keep a short screwdriver in the table drawer. For blankets, I use it gently. For towels, I use it more. That difference is the whole point. A hoop that is tight enough for a bath towel is too tight for a baby blanket. The adjustable screw makes that easy to repeat, once you know what the right feel is.
I also keep the blanket on the table while I tighten, not hanging off the edge. If the weight of the blanket pulls on the hoop, the fleece stretches on one side before the screw is even snug. The second 5 by 7 in the Sew Tech set helps here because I can hoop the next blanket while the first one is still on the machine, but I do not tighten it until it is flat on the table. That sounds fussy. It is the difference between a blanket that looks hand made and one that looks worn out.
Fleece does not need a firm hoop. It needs a fair one. The blanket should feel held, not corrected.
Step 4: Unhoop the moment the machine stops
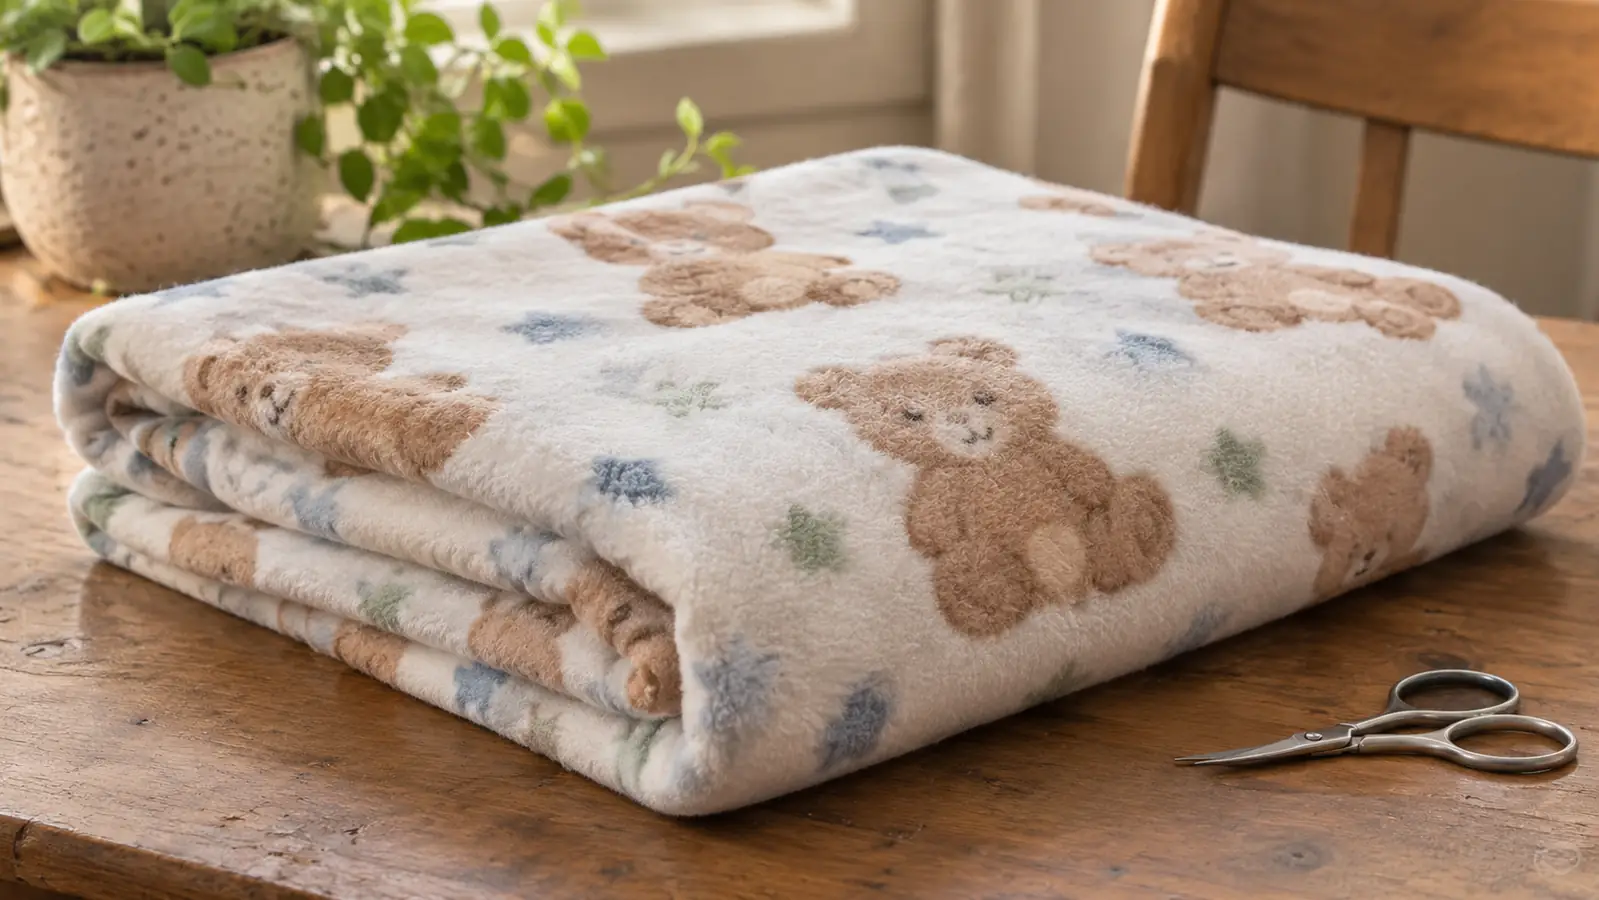
This is the step I wish I had known first. The ring you see on a fleece blanket is often not from the hoop being too tight while stitching. It is from leaving the blanket in the hoop after the machine stops. The fleece stays compressed while it cools, and the nap does not bounce back. I take the blanket out as soon as the last stitch is done, before I trim jump stitches, before I answer a text, before I do anything else.
The SE1900 does not trim jump stitches for me, so there is a temptation to leave the hoop on while I snip. I do not. I release the screw, lift the hoop away, and set the blanket flat on the table. Then I trim. The snips live on a ribbon tied near the machine handle, so the trimming is quick either way. The blanket gets a minute of rest out of the hoop before anything else touches it. That minute is not a ritual. It is the fleece returning to its own shape.
If I am stitching more than one blanket, I unhoop the first before I start the second. I know that sounds obvious, but the machine is right there and it is easy to let the first blanket sit while the second one starts. I have done it. The first blanket got a ring. Now I finish one blanket, set it flat, and then load the next. The Sew Tech set gives me a second 5 by 7 so I can have the next one ready to go, but ready does not mean hooped and waiting.
Step 5: Tear away, press, and check the nap
Tear away the HBI sheet slowly, pulling parallel to the stitching rather than straight up. On a baby blanket, I tear from the back and keep one hand flat on the front so the stitches do not pull. If a bit of stabilizer stays under a dense area, I trim it close with the small curved scissors I keep in the table drawer. The water-soluble topper, if I used it, gets a dab of water on a cloth, not a soak. A soak can wick into the fleece and leave a watermark.
Pressing is where a lot of people undo the work. Fleece and an iron can become friends if you use a press cloth and a low setting, and if you press from the back. I lay the blanket face down on a towel, smooth the nap with my hand, and press the back of the embroidery area for a few seconds. Then I let it cool flat. Do not hang it over a chair while it is warm. That is how you get a fold line instead of a hoop ring.
The check is simple. Run your hand over the front of the blanket. If you feel a hard edge where the stabilizer used to be, trim again. If you see a faint ring, press it once more from the back and let it cool. Most of the time the ring comes out because the blanket was unhooped early. The times it does not come out are the times I left it in the hoop too long. That is the whole lesson, and the Sew Tech set is just the tool that makes the rest of it easier.
What Else Helps
A few things outside the hoop make the difference. Keep the blanket flat while you mark it, use a water-soluble marker rather than a pencil, and do not hoop over a seam or a binding if you can avoid it. On the Sew Tech hoops, the grid is a guide, not a guarantee. I still mark the center on the fleece with a pin or a washable marker and line the hoop up to that mark. The grid helps me see when the hoop is square to the table, which matters more than most people think.
The second 5 by 7 hoop in the Sew Tech set is worth mentioning because it lets me hoop the next blanket while the first one is stitching. That is not a speed trick. It is a patience trick. I am less likely to rush the unhooping step if the next project is already ready. The 4 by 4 gets used for small corner initials, and the 1 by 2.5 comes out for bibs. The 5 by 12 stays on the buckle. That is the honest truth of the set. Four hoops, two of them doing most of the work, one of them never leaving the hook.
If you are new to fleece, practice on a scrap piece before you hoop a blanket you care about. Hoop it, tighten it, leave it for five minutes, and then take it out. Look at the nap. You will learn more from that scrap than from any set of instructions, including mine. The Sew Tech hoops make the practice easy because the sizes are already there and the grids give you a repeatable center. The habit is what keeps the blanket smooth.
Hoop the blanket once, then let it go
The Sew Tech set gives you the sizes that fit the SE1900 field. The unhooping habit is yours, and it is the one that keeps the fleece smooth.
Amazon See the Sew Tech hoop set on Amazon →