The blanket is never the hard part. You pick the fleece, you hoop it, you stitch a name in the corner, and the whole thing takes less time than you expected. Then you stand in front of your thread and every color that looked right in the store looks wrong next to the others.
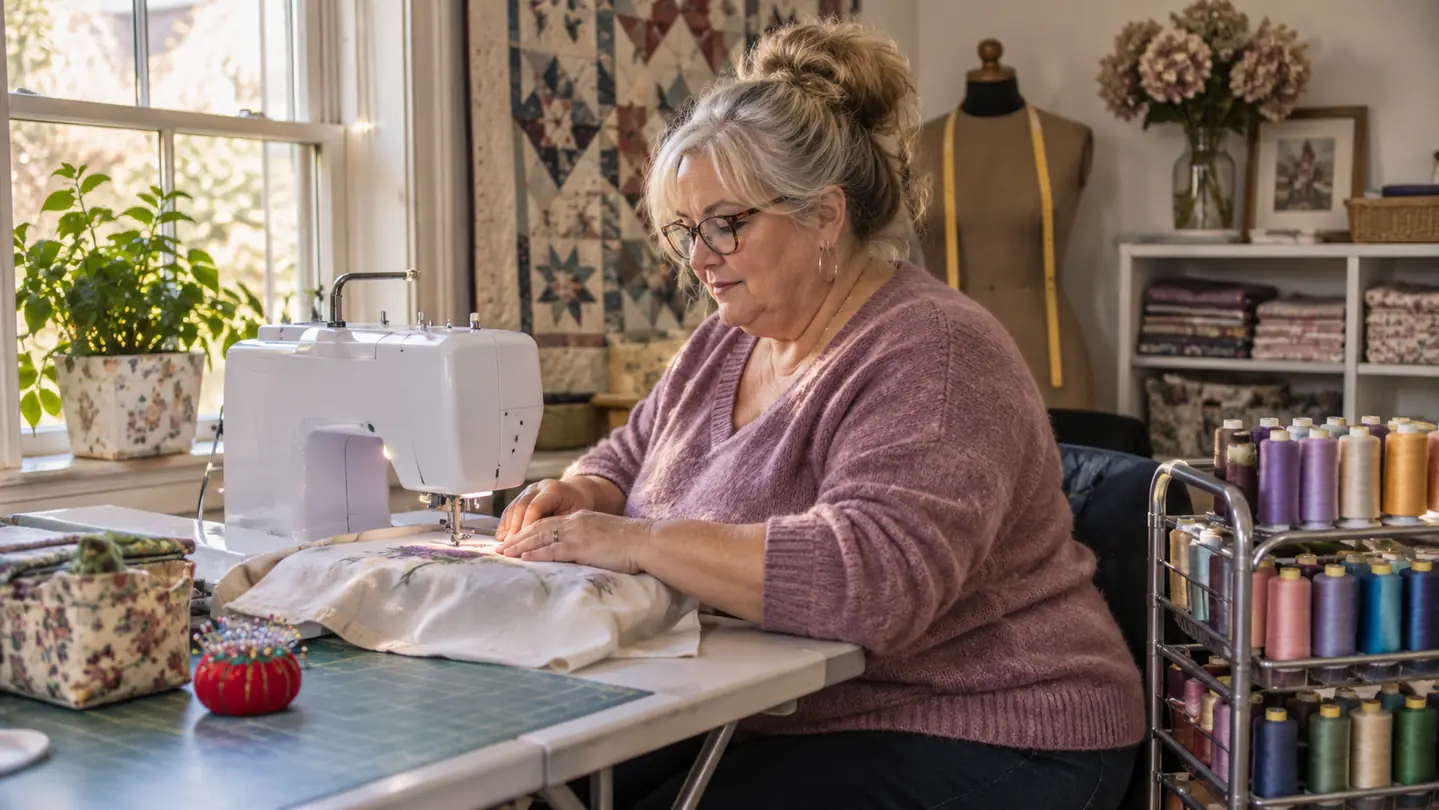
I have been there more times than I care to admit. I started machine embroidery in the fall of 2023, a few months after I retired from the school office, and my first baby blanket took me three passes at the thread before I ever touched the machine. What fixed it was not talent. It was the New brothread 40 color kit, which I bought in November 2023, and the printed chart in the lid, which let me write down what I used so I could use it again. The kit lives on the rolling cart in the spare bedroom upstairs now, sorted by the chart, and it is what every blanket in this house has been stitched with since.
Here is the plain version of what I have learned after three years of this. Picking thread for a baby blanket is not a taste question. It is a contrast question, a light question, and a repeat question. Get those three right and the blanket looks like you knew what you were doing. Get them wrong and you will blame the machine, which is not the machine's fault.
What follows is the order I actually work in, not the order the thread chart is printed in. It takes about twenty minutes before the first stitch, and it has never once been time wasted.
Forty spools and a printed chart beat forty minutes in a craft store aisle
The New brothread kit is 40 weight polyester thread, 500 meters on a spool, 40 spools and a color chart in one box at 1.9 pounds. It is the thread I have bought once and used on everything since, and the chart is the reason I can name a color from two years ago.
Amazon Check Today's Price on Amazon →Step 1: Pull the blanket out before you pull a spool
Before I open the cart, I open the blanket. I lay the fleece flat on the folding table by the window and look at what is actually there: the binding, the satin edge, whatever the person wrapped it in, and the nursery colors if I have seen the nursery.
If I have not seen the nursery, I text and ask. Nobody has ever been annoyed by that question, and it is a much shorter conversation than the one where you hand over a blanket in a color that fights the room.
The reason the blanket comes first is that you are not choosing a color in isolation. You are choosing a color for that fleece, in that room, under that light, and the fleece gets a vote. A soft pink that looks lovely on a white hand towel can go chalky on a cream blanket. Navy that reads crisp on a white towel can go flat black on a gray one. The blanket is the reference, not your mood at the cart.
If the blanket is a gift and you have no idea about the nursery, pull the colors from the blanket itself. One from the binding, one from the print if it has one. That gives you a pair that already agree with each other, which is most of the work.
Step 2: Choose one anchor and let it carry the name
A baby blanket monogram does not need five colors. Three is plenty and two is often better. Pick an anchor, which is the color the name is stitched in, and let it be the strongest thing on the fleece. Everything else is support and should behave like it.
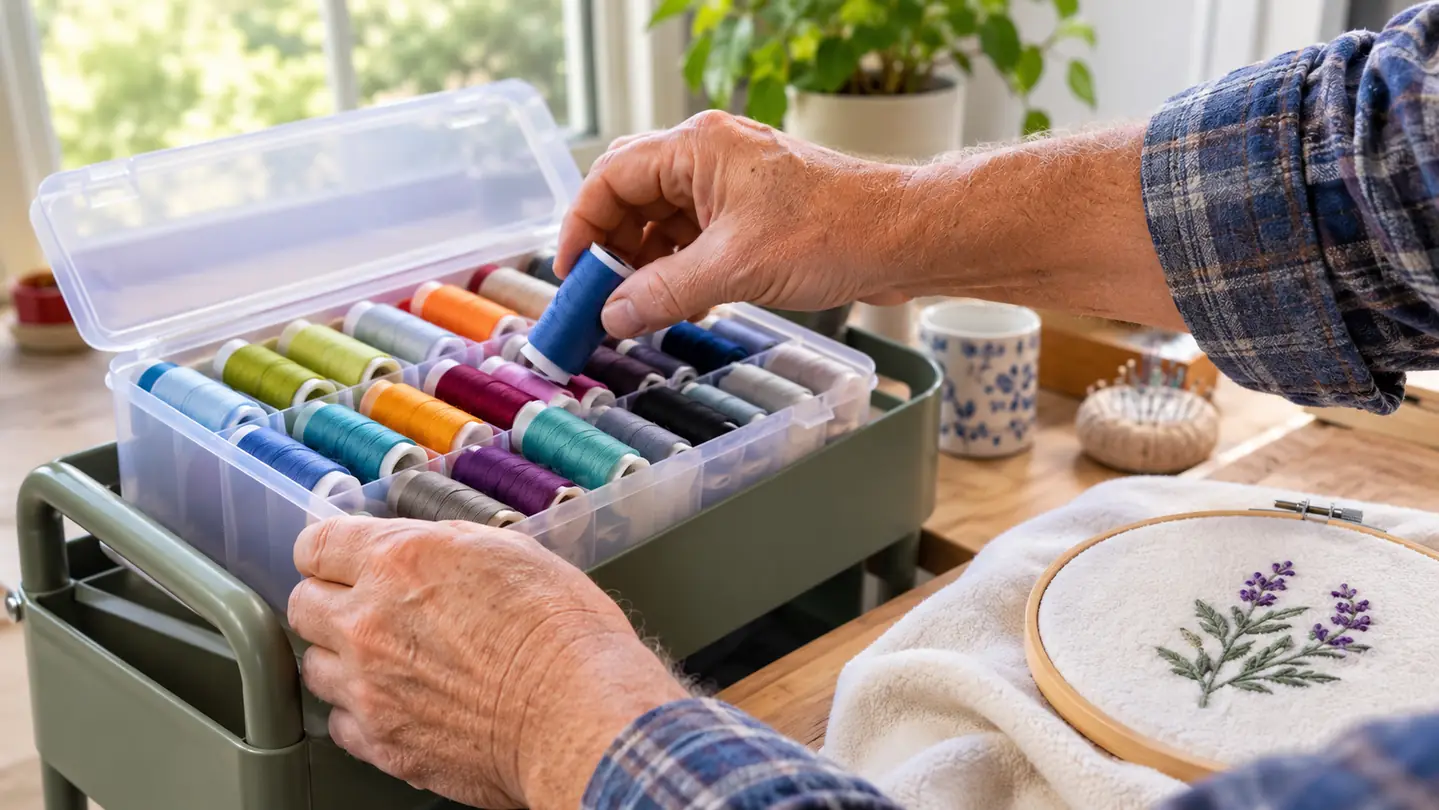
The anchor should be the color you would pick if you were only allowed one. On baby items I reach for navy, white, a soft pink or a light blue, and gold when the blanket has any warmth in it. Those are the spools I have to replace first, which tells you how often they get used. Check them before you start, because running out of the anchor halfway through a name is a bad afternoon with no graceful ending.
The second color goes in a border, a small motif, or a date under the name. The third, if you use one at all, is a dot or a dot's worth of something. My own line is this: if you are standing at the cart holding four spools and you cannot decide which one to put back, put back the one closest in darkness to your anchor.
White counts as a color, by the way. It is not the absence of a choice. On a pale blanket white is nearly invisible, and that can be exactly what you want for a border you would like the name to float over. It can also be a wasted afternoon if you meant it to read.
Step 3: Judge the value, not the color name
This is the step people skip and it is the one that decides whether the name reads from across a crib. Value means how light or dark a color is once you take the name off it. Two colors of similar value blur into one another at three feet, no matter how different they look in your hand.
My trick costs nothing. Set the three spools on the fleece and take a photo with your phone. Then look at the photo squinting, or in black and white if your phone will do it. If the three spools turn into one gray lump you have a value problem. If you can still see three separate weights of gray, the stitching will read from across the room.
Light blankets want mid to dark thread. A pale pink name on cream fleece is a lovely idea that disappears in a photograph, and a baby blanket gets photographed more than almost anything else you will make. Dark blankets want the opposite. A dark blue on a dark gray fleece is a waste of a good color and a good afternoon.
Value is also how you keep a two color design from looking like a mistake. If the border and the name sit at the same value, the eye gives up and sees one shape. Push them apart by a couple of shades and the same two colors suddenly look deliberate.
Two colors of the same darkness turn into one soft lump at arm's length. You will not see it until the blanket is finished and washed.
Step 4: Stitch a sample on the same fleece before you commit
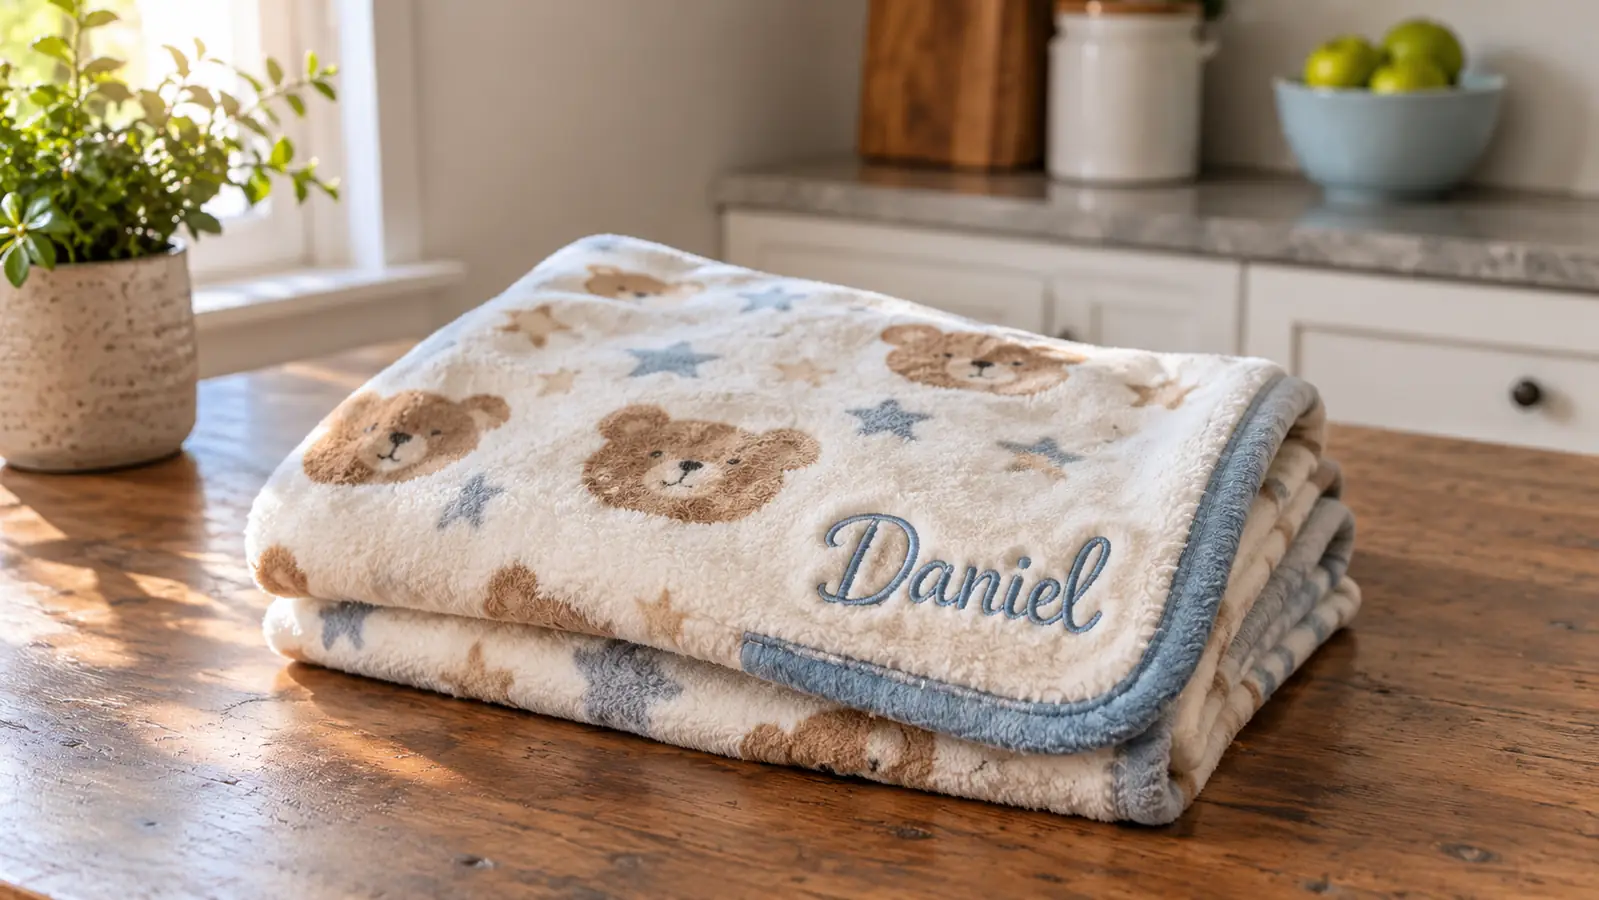
I keep a shoebox of fleece scraps about the size of a postcard for exactly this. When the blanket is a gift, or when I am using a color on a fleece I have not used before, I hoop a scrap and stitch the first letter of the name. It takes a few minutes and it has saved me from some genuinely poor decisions.
Hoop the scrap the way you will hoop the blanket. One sheet of HBI tear away underneath, and on fleece a clear water soluble topper on top so the stitches sit on the surface instead of sinking into the pile. If the sample letter looks thin, or the fleece swallows it, go one shade darker. That adjustment is real and it is much easier to make on a postcard.
Then wash the sample. Polyester thread is colorfast through hot washes and bleach according to the listing on the New brothread kit, but I still run a sample through with a load of blankets before I trust a color next to a white binding. One small square of fleece tells you more than any chart.
I keep the samples too. They go in the same box, labeled in pencil with the color numbers. After a while the box becomes a record of what worked on which fleece, and I flip through it before I start anything that matters.
Step 5: Write it down so the next blanket matches
The chart that comes with the kit is not decoration. When I finish a blanket I write an index card: the color numbers, the fleece, the name and the date. The card goes in a small box in the table drawer. When the same family has a second baby two years later, I do not have to guess what the first blanket looked like.
Matching a sibling's blanket is a better gift than a new idea, and it is only possible if you wrote it down. I do not keep a spreadsheet. I keep a card, in pencil, in a box, and that has been enough for three years of gifts and small orders.
Keeping the spools sorted matters as much as the notes. Mine live in the storage box on the rolling cart, in chart order, so I am not digging through forty spools for the one I want. A few spools in my kit let the thread slip off the top and puddle, so those wear a thread net now. Small annoyance. Not a reason to avoid the thread.
One more thing about repeating a color: keep your thread together as a set. Single spools bought one at a time can land a shade off from the rest, and a name where the L is a different navy from the other letters is the kind of thing you cannot unsee once it is on a blanket.
What Else Helps
Thread is the part you can see. The parts you cannot see decide whether the color looks the way you planned. Stabilizer comes first. On a fleece baby blanket I use one sheet of HBI tear away under the hoop and a clear water soluble topper on top, and the topper is what keeps the stitches sitting on the surface. Without it, even a good color looks thin and fuzzy.
Light is second. My sewing room is the spare bedroom upstairs and the daylight is good in the morning and useless by four in the afternoon. I do not judge a color after three. What looks like a soft contrast under a lamp is often no contrast at all, and that is how a blanket gets finished that nobody loves.
Trims are third, and they matter more than they sound. I keep my Singer spring snips on a ribbon tied to the machine handle for jump stitches, and a small pair of curved scissors in the drawer for trimming close on the back. A name with thread tails still hanging off it undoes a good color choice in one glance.
Fourth is the fleece itself. Not all baby fleece has the same pile. A deep pile eats stitches and a flat one shows every one, so the same color can look soft on one blanket and skimpy on another. If the fleece is new to you, the sample in Step 4 is not optional.
Fifth, and this is the unglamorous one: give yourself the twenty minutes. Color is the only part of a baby blanket the family will describe to somebody else. Nobody has ever mentioned the stabilizer.
The color you used on the last blanket should be a note, not a memory
40 weight polyester, 500 meters a spool, 40 spools and a chart in one box. It is the thread behind every blanket, towel and tote I have stitched since November 2023, and the chart is why a sibling's blanket can match two years later.
Amazon Check Today's Price on Amazon →