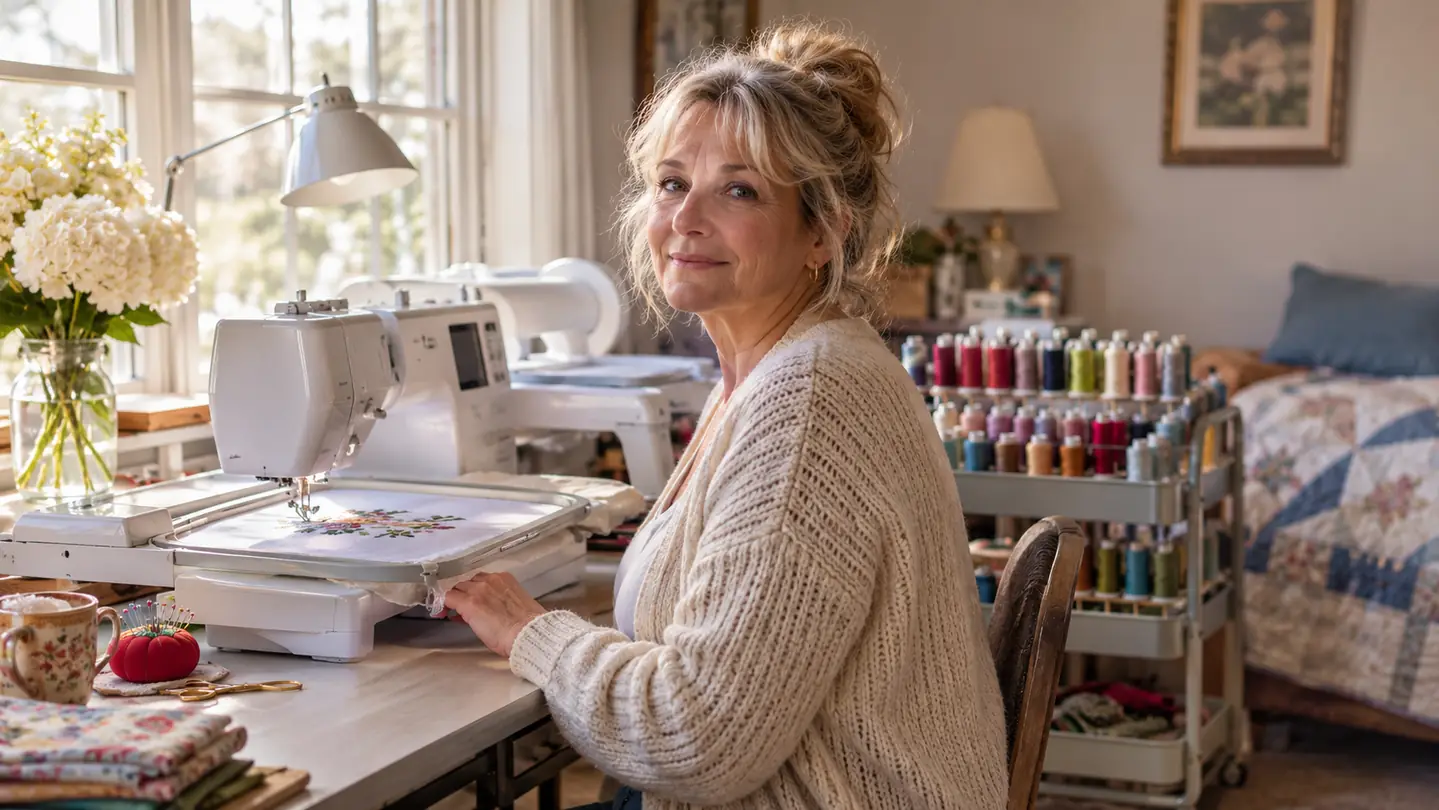
Four days after the box arrived, I still had not plugged the machine in. It sat on a folding table in the upstairs spare bedroom with the packing foam still around it, and I kept finding reasons to walk past the door. I had sewn garments as a teenager, then stopped for thirty years, and the idea of a computerized embroidery machine made me feel like I had missed a decade of homework. What finally moved me was a stack of plain hand towels I had promised to the church bazaar and a stubborn streak that does not like being beaten by a cardboard box.
The machine is a Brother SE1900, a sewing and embroidery combo with a 5 by 7 inch hoop area, and it has been the only embroidery machine in this house since October 2023. I am not a dealer. I do not sell machines and I have nothing to gain from yours. I monogram hand towels, bath towels, fleece baby blankets, canvas totes and cloth napkins for friends, church members and neighbors who text me, plus one booth at the St. Peter's holiday craft fair every December. What follows is what I would tell someone standing in my sewing room asking where to begin.
Start With a Machine That Hems and Monograms on the Same Table
A 5 by 7 inch embroidery field, 138 built-in designs and 11 embroidery fonts, plus 240 sewing stitches for the hemming that comes with every order. One machine, one outlet, one table.
Amazon Check Today's Price on Amazon →Five Steps From Box to First Finished Towel
Step 1: Set Up the Table Before You Set Up the Machine
The table matters more than people expect. Mine is a six foot folding table pushed against the window, with one outlet strip on the back edge and a rolling cart for thread beside it. That is the entire studio, and it is enough. Morning daylight comes over my left shoulder, which is the only reason I can spot a skipped stitch without leaning in close. A card table by a window would do the same job.
The SE1900 weighs 22.1 pounds and measures 23.19 inches deep, 13.43 wide and 11.54 high. That depth is the number to plan around, because the embroidery arm hangs off the back and the hoop needs room to swing. I measured the table with Dale's tape measure before I set the machine down, then slid everything back four inches to leave clearance, and I am glad I did. My husband Dale carried it up the stairs and I have not moved it since. Set yours where it will live. A machine that has to be cleared off the kitchen counter every evening is a machine that stays in its box.
Attach the embroidery arm and the embroidery foot before anything else, working through the manual page by page. It is not difficult and it is not quick. I left the arm on for months at a stretch and took it off only when I needed to hem a pair of pants, which is roughly once a month. The 5 by 7 hoop in the box handled nearly everything in my first year. Do not buy a pile of extras before your first towel is finished.
Step 2: Learn the Screen and the Hoop Before You Learn the Designs
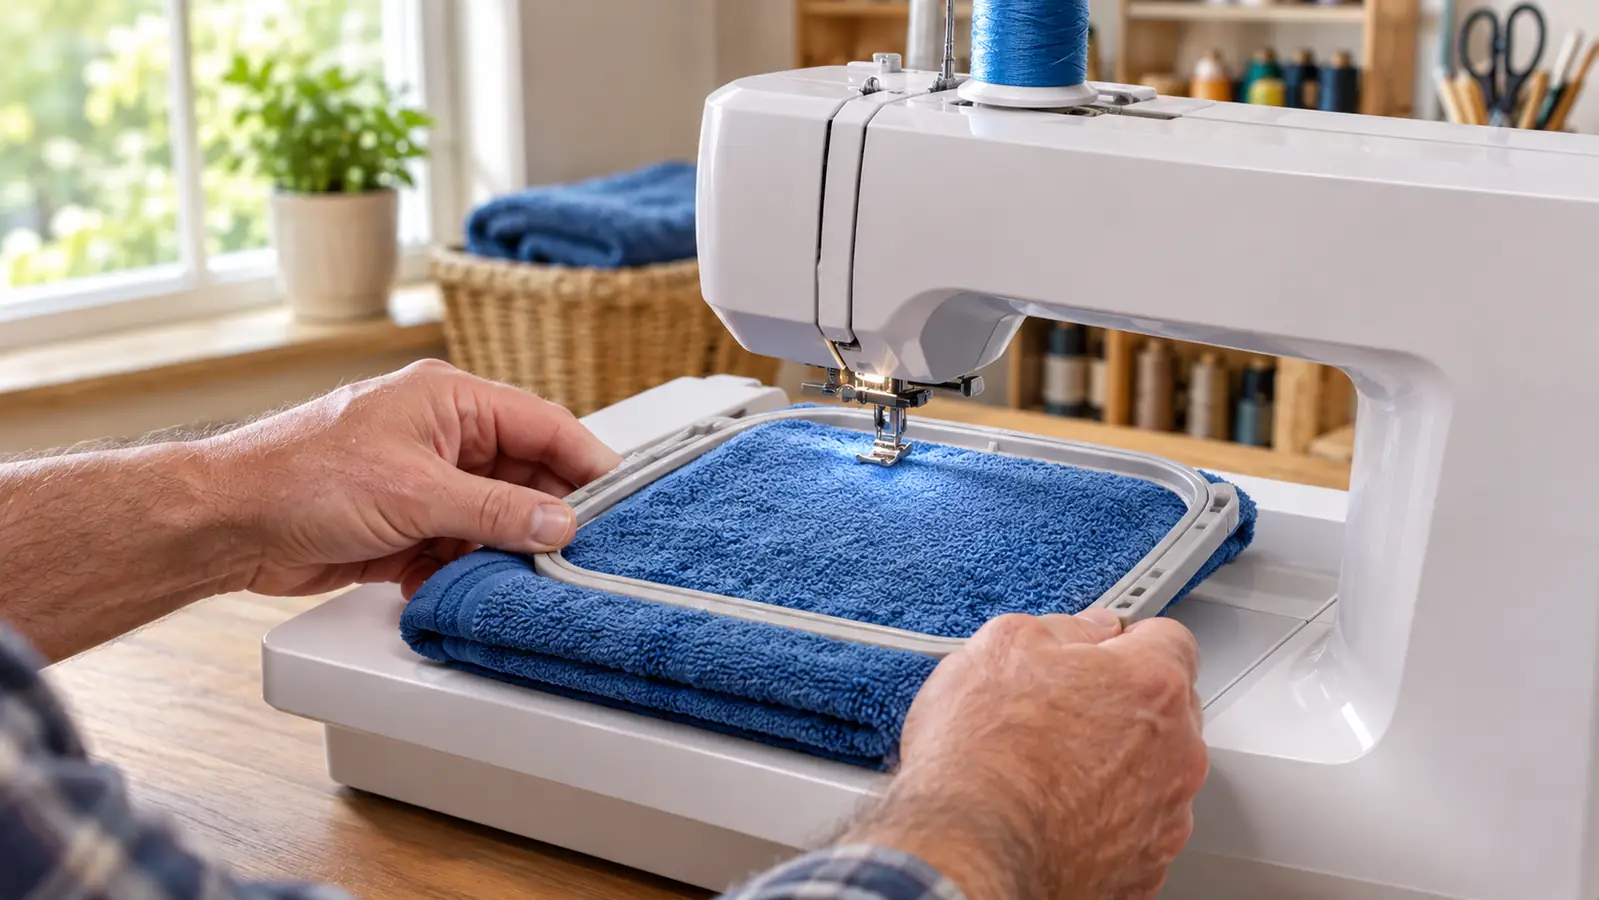
The 3.2 inch LCD touchscreen is where your first evening goes. It is not a phone and it does not behave like one, and once I stopped poking at it impatiently and actually read the icons, it turned simple. The machine carries 138 built-in designs and 11 embroidery fonts. For monogramming, the fonts are the whole game. I have used maybe six of the eleven and never once felt short of choices.
Threading is what frightens new owners. The advanced needle threader handles the fiddly part, and the drop-in top bobbin means you set the bobbin in from above instead of fishing under the plate. I run plain pre-wound white bobbins, a generic box of them, and they have never given me trouble. The first time I threaded the machine I did it three times in a row on purpose, without fabric, just to burn the path into my hands. It took maybe twenty minutes and I have never had to think about the path since.
Then hoop a scrap and stitch one letter. That is the entire first lesson. You are learning the order of operations: hoop it, place it, choose it, stitch it. Nothing more. If a design is going to go wrong, let it go wrong on a towel you were going to cut into rags. I picked the widest built-in letter in the font I liked best for that first test, on purpose, because a wide letter shows you every problem in the hooping instead of hiding it.
Step 3: Give Yourself Two Weeks on Scrap Towels
I spent about two weeks on scrap towels before I gave anyone a single finished piece. Not two weeks of solid work, two weeks of evenings at twenty minutes apiece. The first attempts puckered. The second batch was better. By the end of that fortnight I knew what a properly hooped towel felt like in my hands, and that feeling is worth more than any video I watched.
What I was really learning was stabilizer. My first was HBI tear away, precut sheets ten by twelve inches, one hundred to a pack, ordered with the machine. For a hand towel I put one sheet underneath and a clear water-soluble topper on top, because terry loops will swallow a stitch otherwise. That pairing fixed most of my early trouble. I am on my third pack now, which tells you how far the first two went.
The batch I learned the most from was the third one, five cheap washcloths from the grocery store that I monogrammed in a row, one after another, changing nothing but how hard I pulled the fabric in the hoop. Loose, snug, snugger, too tight, and snug. Four of those five went into the rag bag and the fifth is still in my own bathroom. That is the whole point of scrap: it costs you nothing to be wrong. Once I stopped forcing large designs into a small space and started choosing designs that fit, my finished work improved more in a month than it had in the three before.
Two weeks of scrap towels taught me what no video could: hoop it snug, stabilize it properly, and the machine does the rest.
Step 4: Get the Stabilizer and the Hooping Right
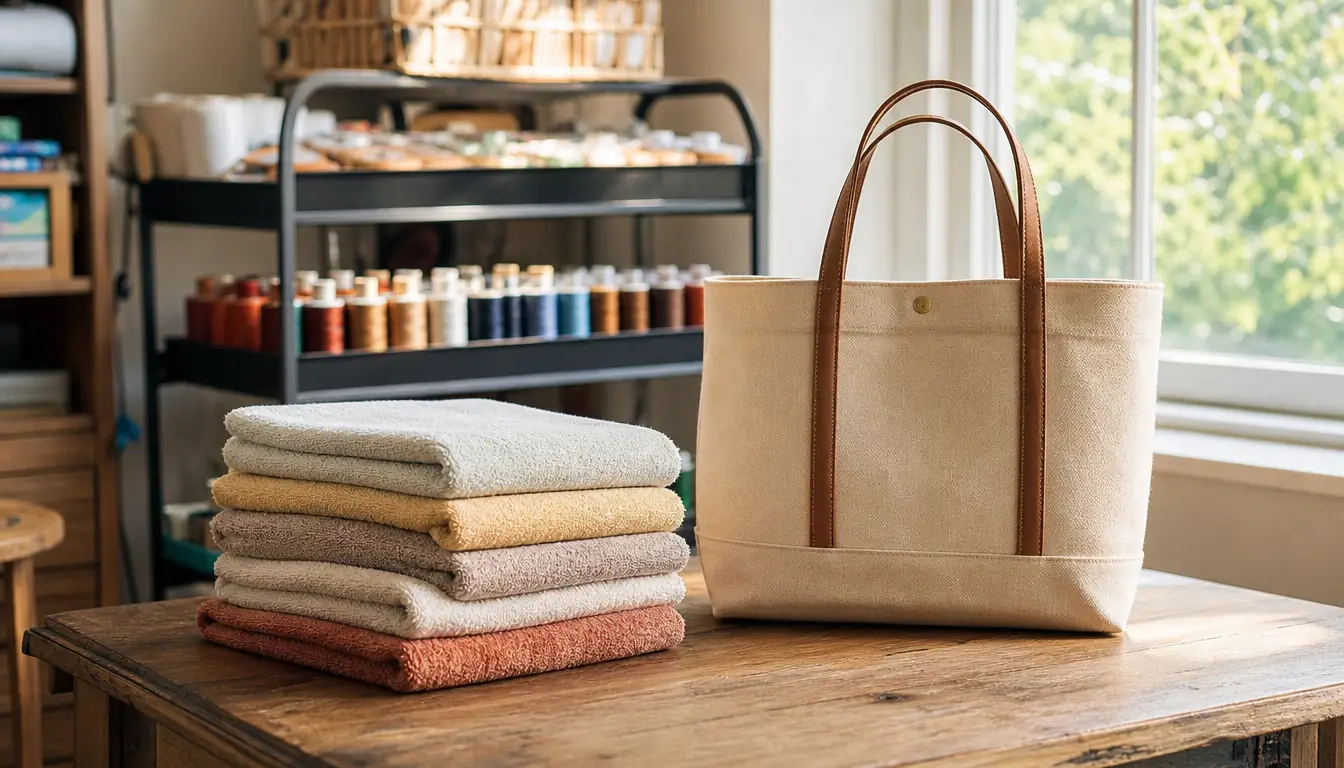
This is the step where beginners quit, and it is rarely the machine's fault. A thick bath towel needs more support than a thin one. I use one sheet of HBI for hand towels, totes and fleece blankets, and I double it to two sheets for a bath towel with a dense design. Doubling feels wasteful until you have picked a puckered monogram out of heavy terry with your snips, which takes an hour and leaves a mark you can see.
Five months in I bought a Sew Tech hoop set with four plastic hoops: 1 by 2.5, 4 by 4, 5 by 7 and 5 by 12, all with grids and adjustable screws. The 4 by 4 does constant duty on hand towel monograms, and the second 5 by 7 lets me hoop the next item while the first is stitching. The little 1 by 2.5 has gone on a handful of baby bibs. The 5 by 12 has never been used, because this machine's field is 5 by 7, and it stays on the buckle as a reminder to read the details twice.
The grids printed on those hoops mattered to me more than I expected. Centering a three letter monogram by eye on a hand towel is guesswork, and guesswork shows. I line the center letter on the grid line, note where the edges of the hoop fall against the towel's own hem, and repeat that same placement on the next towel in the stack. Six towels in an evening come out matching because the grid did the deciding and I did not. Hoop burn on fleece is real and it is avoidable. I do not overtighten, and I take a blanket out of the hoop the moment the machine stops instead of leaving it there while I answer a text. A press with a damp cloth later handles the rest. The screw on those hoops needs a small screwdriver to get truly firm on a thick towel, so one lives in the table drawer beside my curved scissors.
Step 5: Build a Small Repeatable Order Flow
Orders arrive by text. A friend wants two hand towels for a wedding, a church member wants a blanket for a grandchild, a neighbor wants a tote with her daughter's name on it. There is no shop, no website and no schedule beyond the December fair at St. Peter's. What I do have is an order of operations that keeps one request from swallowing a whole week.
Blanks sit on the corner shelf in the sizes I actually use. Thread lives on the rolling cart in the Brothread 40 color kit box, sorted by the chart that came with it, so I am not digging for navy at eight in the evening. A few of those spools let thread slip off the top and puddle, so those wear a little thread net. The colors I reach for most are navy, white, gold, a soft pink and a light blue for baby things.
The last piece is trimming. This machine does not cut jump stitches for you, so a five inch pair of Singer snips hangs on a short ribbon tied near the handle, always within reach. I snip as I go rather than saving a pile for the end, because a jump stitch left long gets caught under the next pass. For the first month I was reaching down to the kitchen for scissors, and I did that exactly until January 2024, when I walked into the sewing room one evening, sat down, reached for nothing, and got up again to fetch them. That was the end of that. The spring on those snips felt stiff for the first week and then it stopped being noticeable. The few Brother spools I started with are long used up, and the forty color kit replaced them without a fuss.
What Else Helps
Good light, first of all. Morning daylight over the shoulder beats every lamp I have tried, and I schedule the fiddly work before noon. Second, keep a small screwdriver and one pair of curved embroidery scissors in the table drawer, not in a toolbox downstairs. A tool that takes two minutes to fetch is a tool you will skip.
Say no to jobs that do not suit the machine. I do not do caps, and I do not take orders for work shirts. The 5 by 7 field and the hoops I own do not make those jobs pleasant, and work you resent is work you do badly. Hand towels, bath towels, fleece blankets, canvas totes and cloth napkins are the five things I say yes to without thinking about it.
And keep the machine clean between projects. A quick brush of the bobbin area after a batch of towels, a fresh needle every few projects, and it will keep doing what it did on day one. Mine has never needed repair or service, and it has been running since October 2023.
One Machine, Two Jobs, and a Field That Fits a Hand Towel
The Brother SE1900 does the monogramming and the hemming on the same table. 138 designs, 11 embroidery fonts, a 5 by 7 inch hoop area and 240 sewing stitches, with the hoop, the arm and the embroidery foot in the box.
Amazon Check Today's Price on Amazon →