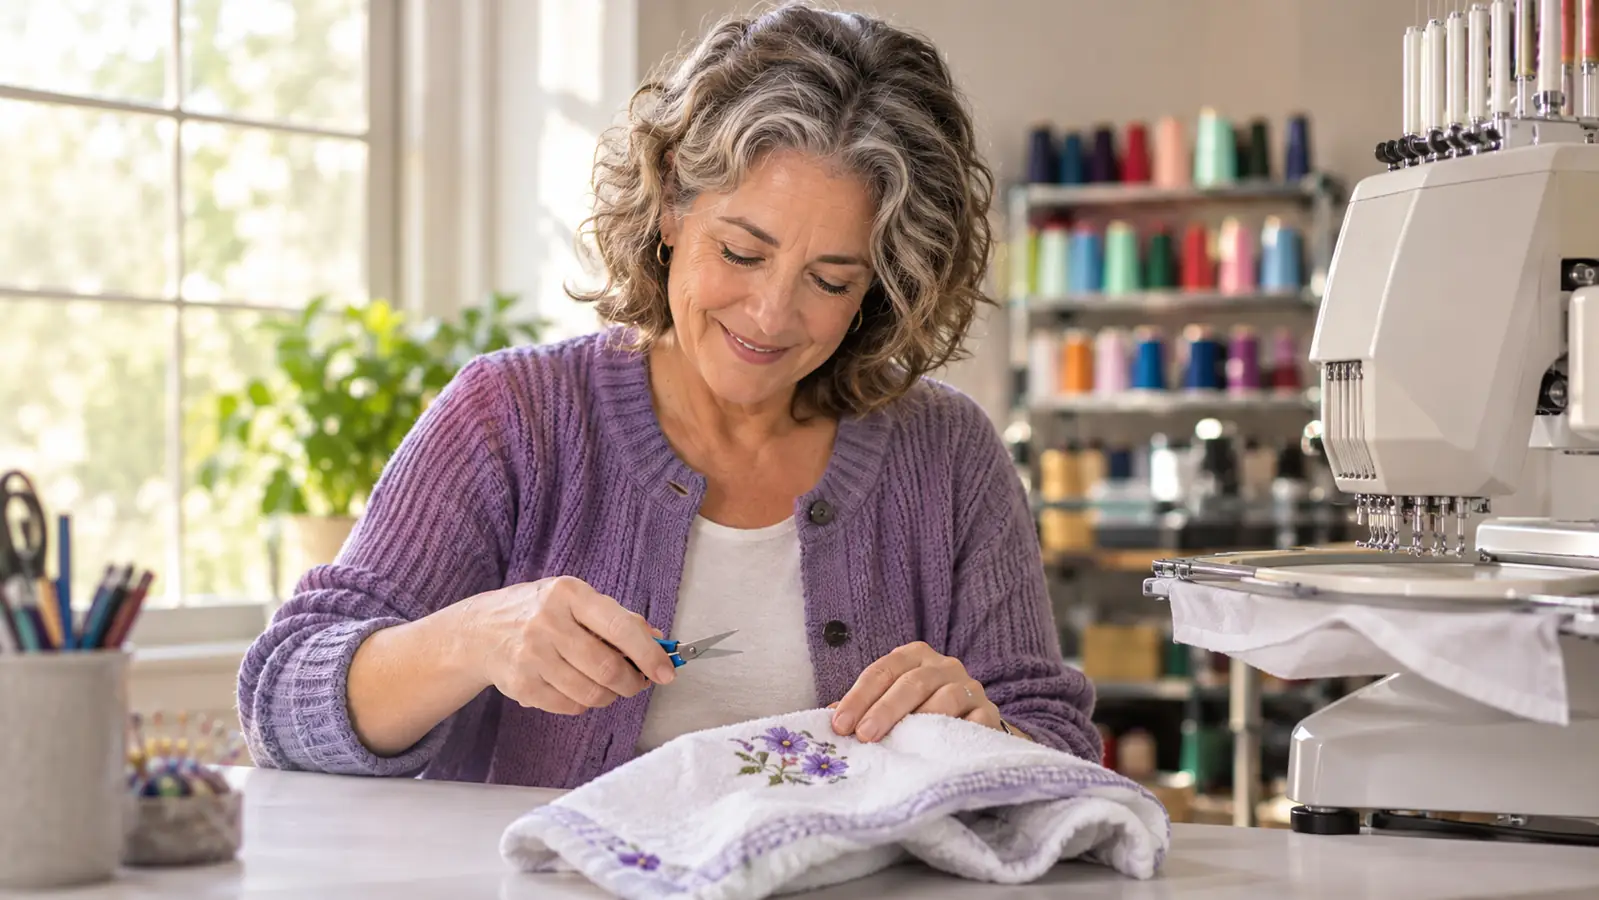
Nobody warns you about the web. You spend an hour hooping a bath towel, centering a monogram, watching the needle go around the letters, and then the machine stops and hands you a design with long threads strung between the letters like a spider got in there. That is a jump stitch. The machine moved from the end of one letter to the start of the next without stitching, and it left the thread behind to prove it.
My Brother SE1900 does not trim them for me. It has a lot of things, a 5 by 7 inch field and 11 embroidery fonts and a needle threader that has saved my eyes, but an automatic thread cutter is not one of them. So I trim by hand, every design, and I have been doing it since the fall of 2023. What I use is a pair of SINGER ProSeries 5 inch thread snips that live on a ribbon tied near the machine handle. This is the order I do it in, and the reasons behind each step, and the handful of mistakes I made first so you do not have to.
The pair I reach for on every single design, tied to the machine so it cannot walk off
Five inch stainless spring snips with fine tips and a rubber grip, light enough to hang from a ribbon at the machine and stay there. This is the one I bought in January 2024 and have used on every monogram since.
Amazon Check today's price on Amazon →Step 1: Stop the machine before you touch anything
The temptation, when the machine pauses between color blocks or finishes a section, is to get in there while it is still moving. Do not. Hit stop, wait for the arm to come to rest, and then wait one more second. The needle on my SE1900 parks in a spot that looks safely out of the way and then the arm shifts when you least expect it.
The second reason to stop is that you want the hoop still. Trimming is a two-hand job. One hand holds the hoop steady and, honestly, holds the fabric down so you are not lifting the towel off the stabilizer. The other hand works the snips. If the machine is creeping forward, your holding hand is doing two jobs at once and the trimming hand gets sloppy.
I learned this one the hard way in February 2024, on a fleece baby blanket for my granddaughter Lily. I was in a hurry, the arm nudged while my tip was under a thread, and the tip caught the fleece and dragged a small pucker into the surface that no amount of pressing would take out. Nothing broke and nothing bled. I finished the blanket, cut it down into a burp cloth, and I have stopped the machine every single time since. The pause costs four seconds.
There is also a small advantage to trimming at each color change rather than waiting. Threads are easier to see one color at a time, and you are far less likely to snip the wrong one because you can tell at a glance which threads belong to the section you just finished. I do the whole design in one pass now and then, but if the design is dense, I trim as I go.
Step 2: Get the tips under the thread, not on top of it
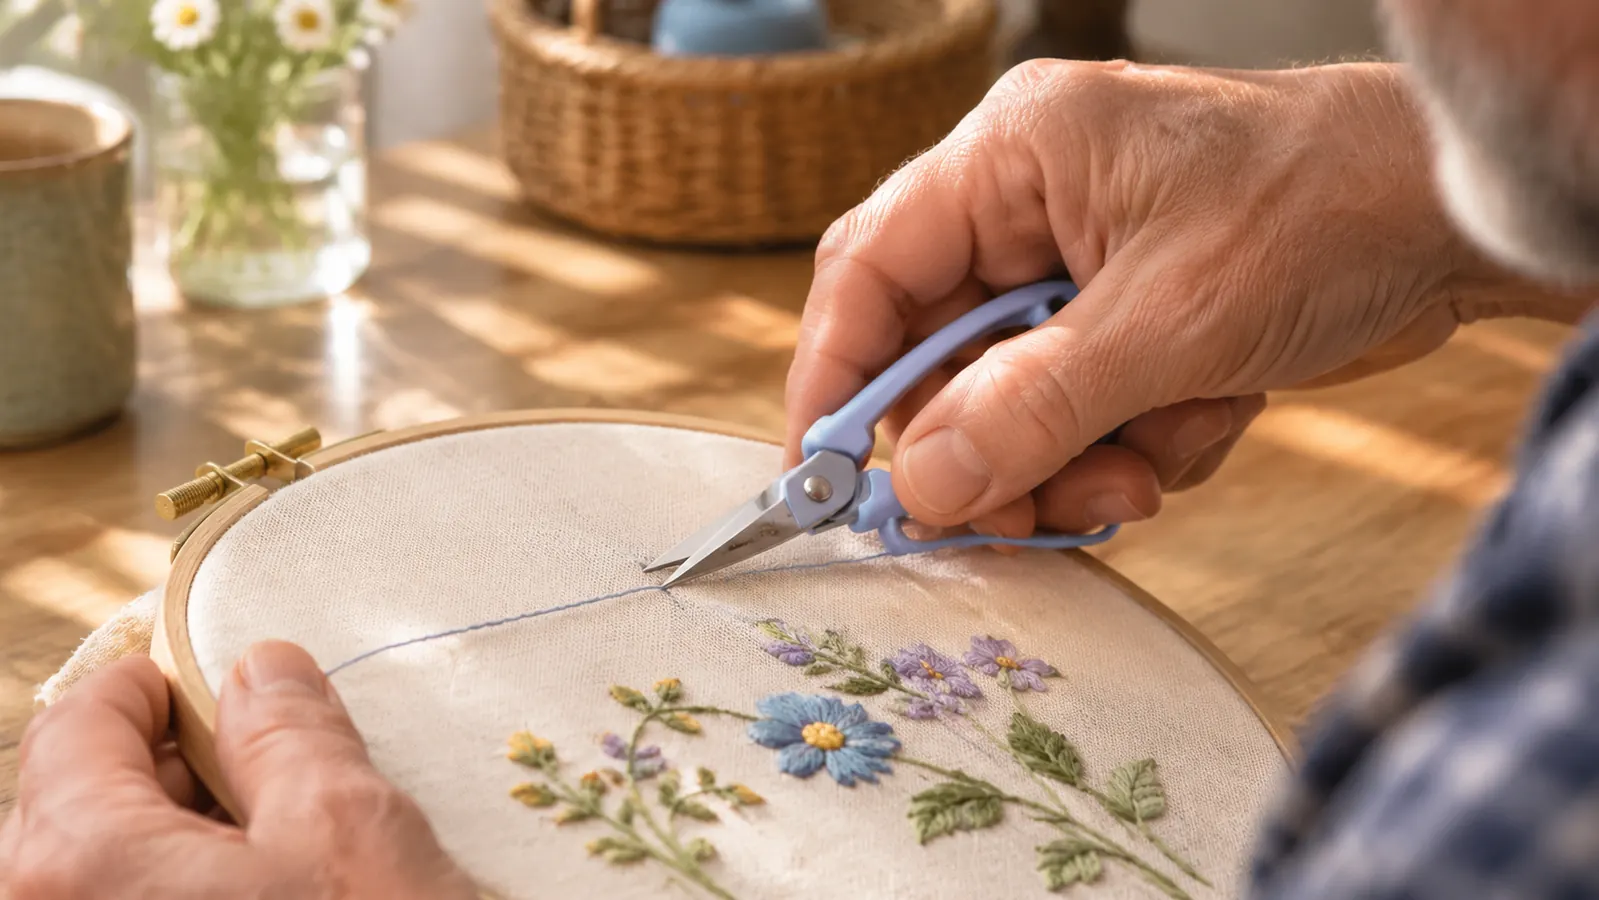
This is where kitchen scissors failed me and where the snips earn their ribbon. The fine tip blades on the SINGER snips are narrow enough to slide under a single thread lying across the surface of the towel. Kitchen scissors are not. You end up pushing the thread down into the fabric and chasing it, or you lift the whole thread up with your fingers and it pulls tight against the stitch it is anchored to.
The motion is: slide the closed tips under the thread, open the blades a quarter inch, close them. That is it. Do not drag the snips along the fabric looking for the thread. Do not squeeze the thread against the towel and cut upward. Slide under, open slightly, close.
The 5 inch length is doing quiet work here, too. A shorter body puts the cutting point close to your fingers, so when you are working under a thread sitting an eighth of an inch above the cloth, the tip goes exactly where your hand tells it to. A long pair of shears puts the cut a full hand span away from your grip and the point wanders. I still keep one pair of small curved embroidery scissors in the table drawer for the backs of blankets, and even those feel long next to the snips when I am chasing a jump over a monogram.
The spring action matters more than I expected. These snips open themselves when you release the grip, so your hand is only ever doing one thing, which is closing. On a design with a lot of jumps, that halves the effort. The first week I owned them the spring felt stiff, and I noticed it, and then I stopped noticing it. That is the only complaint I have about the tool.
Step 3: Cut at the middle of the jump, not at the stitch
Here is the mistake I made for the first month. I cut at the end of the jump, right where the thread disappears into the fabric at the start of the next letter. That is the worst place to cut, because the thread there is already anchored by the first stitch of the new section, and if your tip catches that stitch you have just opened a hole in the design.
Cut in the middle of the loose span instead. The thread falls away in two pieces and both ends are still anchored where they belong. The little tail that is left near the design can be dealt with afterward, and often it does not need dealing with at all, because the next section of stitching covers it.
If the jump is short, under a quarter inch, leave it alone and deal with it at the very end. Short jumps are usually going to be covered by the next pass of the design anyway. Cutting them mid-run is how you get a thread that starts unraveling under a letter.
Step 4: Tug the tail, then cut again if it is still there
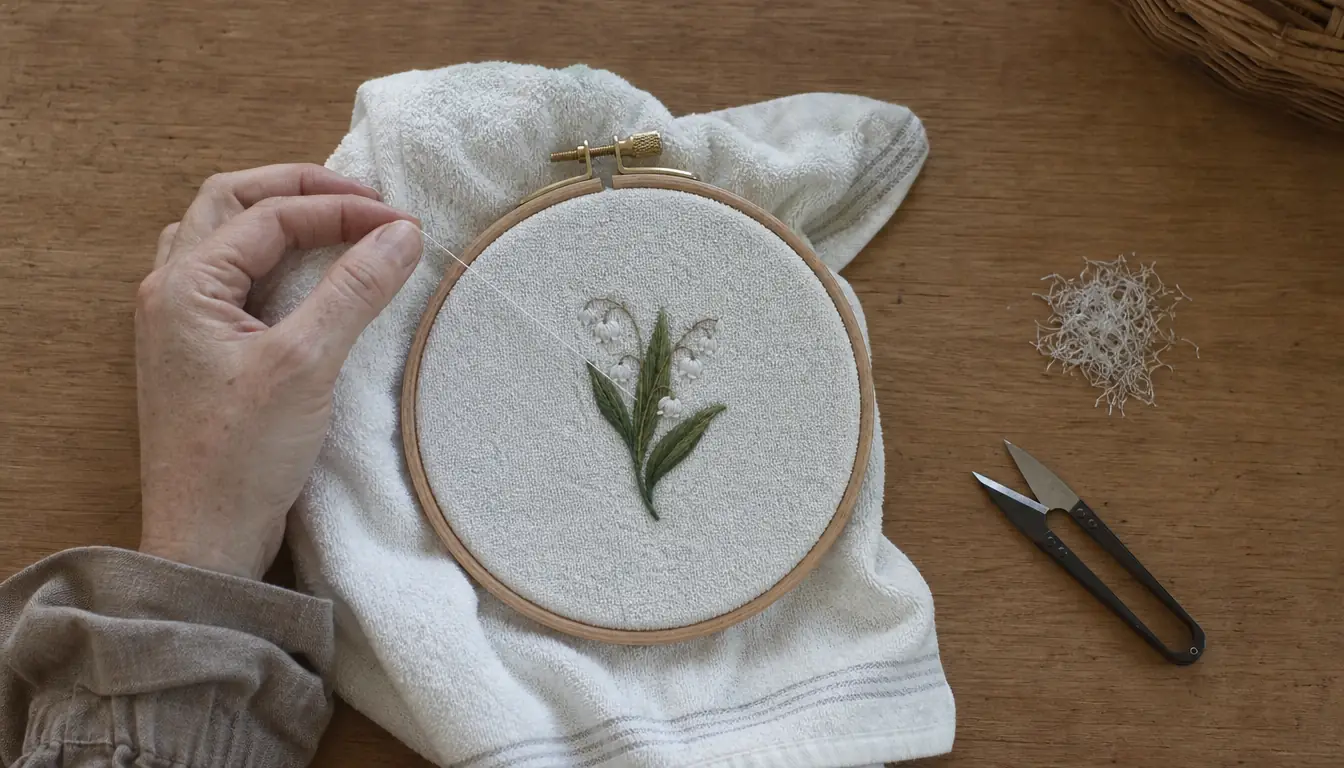
After the middle cut, most of the thread falls free. The stubborn ones do not. There is a small tail still sitting on the surface near where the jump started, and it is caught on the underside of the last stitch of the previous section.
Do not pull hard. Pull gently, with two fingers, away from the design, and watch the tail. If it comes up, snip it close with the tips of the snips while it is held slightly taut. If it does not come up with a light tug, it is anchored and you should leave it. Yanking a tail that is caught in the stitching pulls the stitch loose from underneath, and you will not see the damage until the towel is washed.
The right amount of pull is barely a pull at all. I want to see the thread bend and lift maybe a sixteenth of an inch off the fabric, and no more than that. On a canvas tote bag last spring the tail was anchored deeper than I had judged, and one more ounce of force would have pulled a stitch clean out of the lower loop of a monogram. I left that tail sitting there. It lay flat against the canvas, the bag went out, and it has never come up.
This is the step that separates a clean back from a messy one. A light tug and a close snip takes two seconds. A hard tug can cost you the whole item, or at minimum a repair pass with a hand needle that you did not want to do.
Step 5: Do the final sweep after the hoop comes off
Once the design is finished and the hoop is off the machine, I do one last pass over the front and then turn the item over. Front first, because that is what the customer sees. Then the back, because that is where I judge whether I would hand it to someone.
On the back, the snips are not the right tool and I do not pretend they are. I keep one pair of small curved embroidery scissors, no brand, in the table drawer, and those are what I use for anything close to the fabric on the back of a blanket. The curved blades let me get in at an angle without the points digging into fleece. The snips are for the front and for thread tails at the machine. They did not replace the curved scissors and they were never meant to.
The final check is a pass with my hand, flat, over the front of the design. Anything that catches on my palm gets one more snip. Then the item goes in the finished pile and the snips go back on their ribbon. That is the whole routine, and it takes maybe five minutes on a monogrammed hand towel.
What Else Helps
Three things made more difference than I expected. The first is good light and a lot of it. My sewing room is the spare bedroom upstairs with one folding table against the window, and the daylight in the morning is the reason I do my trimming before lunch. Under a single overhead bulb I have cut the wrong thread more than once. If you cannot work by a window, get a lamp you can bring down close to the hoop.
The second is a place to put the clippings. Not a detail anyone mentions, but a small bowl on the table means I am not dropping thread onto the towel and then having to pick it off. Thread clippings on a navy bath towel show up like confetti, and picking them off takes longer than the trimming did.
The third is a really solid hold on the hoop. A hoop that shifts while you are sliding a tip underneath a thread is how tips catch fabric. If the item is a thick bath towel I use two sheets of stabilizer, which keeps the whole thing firmer, and a firmer surface makes the trimming pass faster and safer. That is not a trimming technique, it is just the thing that makes the trimming technique work.
One more, and it is not optional for me anymore. There is a magnifier on the corner shelf, the kind on a small weighted stand, and it comes out whenever I am trimming white thread on a white towel. That is the hardest combination on my table and my eyes at 58 are not what they were at 40. Ten seconds under the glass saves me from putting a tip through the towel itself, which is a mistake you only make once before the magnifier becomes part of the routine.
Cut in the middle of the loose span, not at the stitch. The thread falls away in two pieces and both ends are still anchored where they belong.
What I Would Not Do
I would not use the snips to cut fabric. They are for thread, and the fine tips are the whole point. Anyone who borrows a pair to trim a seam allowance will dull them and hand them back, and then the tips are not fine anymore and the tool is a lesser version of itself. Mine stay on the ribbon and they do not get borrowed.
I would not buy the cheapest pair on the shelf either. I paid for the SINGER snips in January 2024 after a month of reaching for kitchen scissors, and the difference is the spring and the tips. The spring returns the blades every time without me thinking about it, and the tips are narrow enough to get under a thread. A pair with a loose spring and blunt tips will make you hate trimming, and trimming is already the least interesting part of the process.
And I would not skip the trimming because the front looks fine. Turn the item over. If the back is a nest of loose threads, they will work their way to the surface in the wash, and a gift that was perfect on the table comes out of the dryer looking worn. Trimming is the last five minutes of the job and it is the five minutes that decide how the item looks in a year.
Five minutes of trimming is what keeps a monogram looking new after twenty washes
The SINGER ProSeries thread snips are 5 inches, ambidextrous, and light enough to hang at the machine so they are always in reach. The pair I use on every design that comes off my table.
Amazon Check today's price on Amazon →